Scheduling meetings can be an absolute hassle. You go back and forth, suggesting meeting times, but you can't seem to find a time that works for everyone. That's where scheduling tools like Calendly come in!
In this guide, I'll show you how you can use Calendly to make scheduling meetings a completely automated process. Let's dive right in 👇
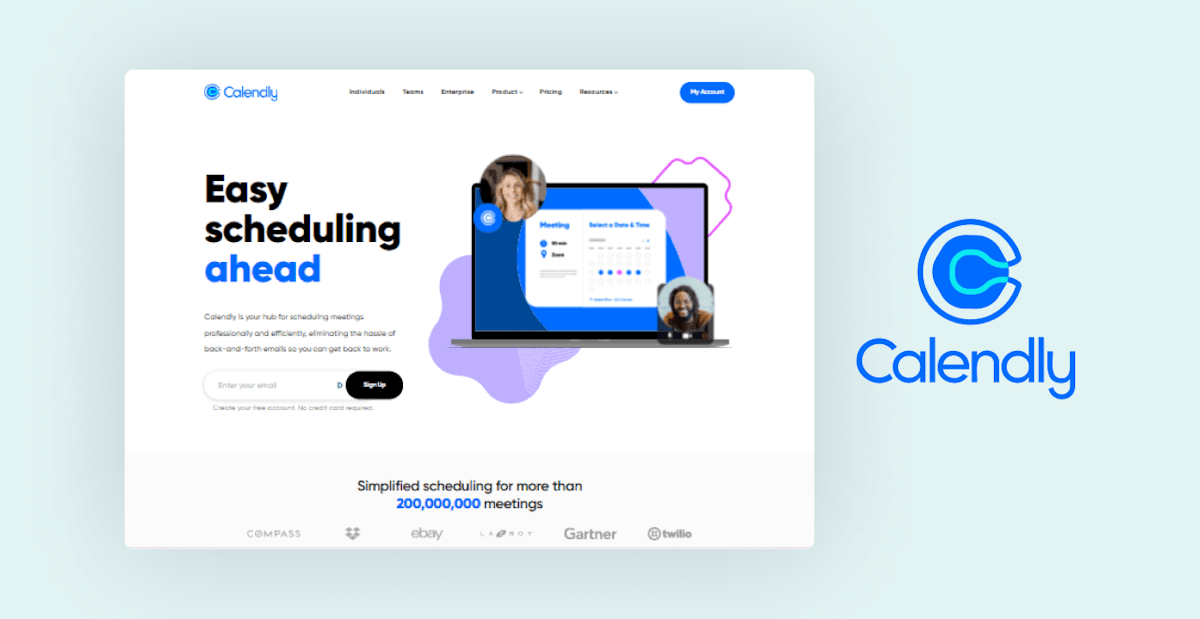
What is Calendly?
Calendly is a powerful tool that gives clients a beautiful and easy interface to book calls with you. This makes it super easy for you to schedule meetings with clients & co-workers. Instead of endless back- and forth, this is how it works:
You send out your Calendly link
Just copy your Calendly booking link and send it to your client.
Your client/co-worker books a call
When your client opens the link, he/she will be sent to your personal booking page that looks like this:

Your client can then choose a meeting type that works for them. These meeting types are completely customizable and can be set up however you want to (more on that later).
Once the client has chosen a meeting type, they will be redirected to another page:

That's where they can book the actual timeslot for your meeting. Now comes the Calendly magic: Calendly automatically checks your calendar for other events and only allows your client to book a timeslot where you're actually available.
This means you never need to worry about overlapping meetings and tedious scheduling again. As easy as that!
Now on top of that, Calendly gives you many more features to make this process even smoother. For example you can:
send automated reminder emails before an event starts
send automated follow-up emails after an event has ended
allow clients to easily re-schedule their events with you
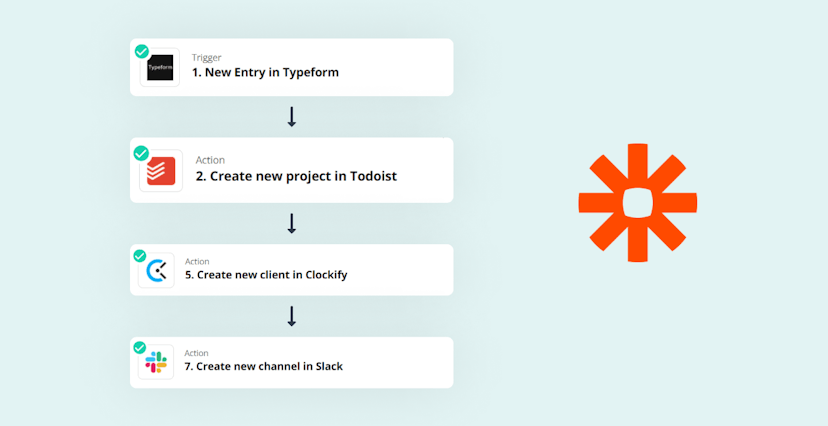
integrate with third-party software like Zapier & Integromat to create powerful automations
... and much more. If you're using Calendly as a freelancer/consultant, you can even create meeting types, where users have to make a payment before scheduling a call with you.
We'll explore some of these features in the rest of this guide.
Create your Calendly account
To get started, create your account at calendly.com. Calendly offers a couple of different plans that have varying degrees of access to all the Calendly features.

When getting started you can use the basic free version. It allows you to connect Calendly to one calendar, get a personalized link, provide meeting notifications, one on one event types, and much more features. However, it's limited as compared to the other plans.
The premium version is the standard paid plan that gives you additional features from the basic free version. It is ideal for both individuals and small teams as it features group meetings. The premium version gives you access to additional features like multiple event types, connections, and much more.
If you have a bigger company, you can choose the Pro or Enterprise plans. The pro version allows you to connect to various software tools that can come in handy for your company, have automated workflows, and much more. You also get advanced branding options. You can check the pricing plan here.
Setting up your account
Now that you've got your Calendly account ready, let's set it up!
#1: Connect your calendars
One of the most important things to set up in Calendly is “calendar integration”. Calendar integration is a key factor that makes Calendly powerful. Not only does the feature allow Calendly to add meetings booked to the calendar, but also checks all your connected accounts for conflicts.
This makes it impossible for a newly booked meeting to overlap with an already existing one, so definitely connect your calendar :)
Step 1: To connect, click on your account on the top right side of the menu bar. On the drop-down select calendar connections. You will be redirected to another page.

Step 2: Now you can set up the calendar account.
Depending on your account plan, you will be able to connect a different amount of calendars to your Calendly account. The basic version only allows one calendar, premium allows 2 calendars per user, pro offers 6 calendars per user, and enterprise 6 calendars per user.

Step 3: Next, choose which of these calendars should be used to "Check for conflicts". These are the calendars that Calendly will look at to determine whether you're free or already booked for a specific time.

Step 4: On “Add to Calendar”, set up the calendar you would like to add newly scheduled events. All events booked through Calendly will appear there. If you normally use multiple calendars, connect them all to prevent any arising conflicts.

That's it! Now we're ready to move to the next step :)
#2: Filling in profile information
The next step is to fill in your profile information, which will make your booking page more professional & welcoming. To do that, go to accounts on the top menu bar and the drop-down choose: “Account Settings”.

Let's go through the different tabs one by one:
Profile
Here you customize things about yourself. Definitely make sure that you're using the right time zone, because otherwise you might get some scheduling issues.
Also, try to include a welcome message because that makes your booking page much more welcoming.
Lastly, choose a profile picture. It will show up on your booking page, so it's a great touch to make the booking process more personal again :)
Branding
On the branding page, you can set your company logo. Again, this will show up on your booking page, so make sure to add it. If you're on one of the paid Calendly plans, you also have the option to remove Calendly branding from your booking page.

My link
Lastly, you can customize your Calendly link to fit your brand or your name on the "My link" page. This is the link you will be sending out to clients, colleagues, and co-workers to book a meeting.
If you've used Calendly for a longer time, please be careful when doing this, because it causes all your existing links to no longer work!
Create your first Calendly event type
Now it's time to create our first Calendly event type. To do that, we just clickt the "Create" button in the Calendly dashboard.
If you want to create a new event type, simply go back to your Calendly dashboard, then click on the “Create” button.

The one-off meeting is like one single booking to a single person. It's good if you don’t want people to repeatedly book meetings with you using the link after it's been booked once. You get to invite someone to pick a time to meet with you.
The event type is great for your regularly scheduled events. The next thing is to choose the event type. There are two options:
1-on-1 meeting – In this, a single person can book a meeting with you.
Group meeting – In this, a group of people can book a meeting with you. Multiple invitees meet with you at the same time. For example a coaching class.

If you plan on using Calendly with your entire team, you will have two additional event types available which are "Round Robin" and "Collective", which allow you to schedule meetings with multiple people at once. You can get access to them in the Pro & Enterprise plan.
#1: What type of event is this?
Let's set up your first One-on-One event. I'll just be using some dummy text for this. Here's what we'll go through:

Step 1: First write the “Event Name” like consulting call.
Step 2: “Add a location” by connecting to the conferencing provider of your choice. You can choose from lots of different providers, but I like Google Meet most.

Step 3: After selection, Calendly will generate a new meeting link according to your chosen web conferencing platform like Google Meet, Microsoft Teams or Zoom.
Step 4: Next, you can add a description. This is where it makes sense to tell your invitees, how this meeting is going to go down and who should book the meeting in the first place.

Step 5: Additionally, you can customize the link to the specific event type. You can also choose a color – mostly for design purposes to differentiate the event types.
#2: When can people book this event?
Next, we'll set up when and where your event can be booked. This gives you all the control you need to keep your calendar in shape. Let's dive right in!

Date Range – It has three options: You can choose how many days into the future a meeting can be booked, within a certain date range, or indefinitely into the future.

Duration – This option allows you to set the duration of the event. This is the amount of time that this event will take up when added to your calendar.
Availability - You can either use an existing schedule or set custom hours. More on that later :)

Buffer - This allows you to add a bit of buffer before and after your events. For example, if you add 15 minutes of buffer at the end of an event that goes from 9:00PM to 9:30PM, you will be available for new meetings starting 9:45PM.

#3: Additional availability options
Calendly has some additional options that can be useful to you. Click on the “Additional rules for your availability” to access them.

Start time increments – It allows you to control how big the start time increments will be. How often can people be able to book events?
For example, if you set it to 30min, people can only be able to book events for 30 minutes, eg 3 pm, 3:30, and so on.

Scheduling conditions – In this, you get to choose how much time the event type can be booked in advance. This allowance helps you to properly prepare for your calls.
For example, you can set it to 1 day in advance. Hence, invitees need to book earlier to prevent you from getting overwhelmed for easy planning.

Maximum allowed events - You can determine how often this event type can be booked per day. If it is a draining call, you would want to take only one per day. Even if you just want 3 client calls per day. You can set it up from there.

The time zone setting – It can stay in your current time zone but you can change for in-person events.

Secret event – This will help prevent the event type from showing up on your public page. You can use this for meeting types that are for specific people. It will only be available for those you sent too.

#4: Additional options
Now that we've gone through all of the settings for setting up the event itself, let's also take a look at some of the additional options that Calendly gives us for even better control.
Invitee questions
The first option you have here is the ability to customize which questions a person has to fill out in order to book a meeting with you. By default, Calendly asks for the name, email address & some text for preparation.

If you want, you can add other fields for additional information. You can even add new questions, which can be one line, multiple, radio, etc. This can be done by clicking on the "Add New Question" button.

If you definitely want your invitee to fill out a field that you've added, make it required. Once you're satisfied, just save and then your new questions will be added to the booking process.
Language
Another extremely useful option for non-native English speakers is to change the language for the invitees. To do that, use the button at the top of the screen (as shown below).

Notifications & cancellation policy
There is an option to send email or calendar invitations. With the calendar invite, a new calendar event will be added to your calendar and the invitee will be invited. However, with email, they will get an email to add the event to their calendar themselves.
Additionally, you can also use Calendly to send automated reminders to your invitee, so that they don't miss the scheduled meeting. If you prefer, you can also add a follow-up email after the event. For both of these, you can edit the text and customize the message to your liking. Finally, you could also have a cancellation policy if you need one.
Professional plan features
Their are also a couple of advanced features that will only be available to users on the "Professional" and the "Enterprise" plan. Let's go through some of the most important ones now:
Workflows – Allows you to create custom workflows around your meetings. You get to send email notifications on a custom schedule, provide your invitees with additional resources via mail & much more.
Send SMS reminders to your invitee if you have their phone number.
Custom confirmation pages – It redirects invitees to a custom confirmation page after they have booked a meeting.
Collect payments – Allows you to charge invitees for your consulting calls directly through Calendly by integrating with Stripe or Paypal.
How to create an availability schedule in Calendly
Now that you've set up your first event types in Calendly, chances are that you don't want to offer the same kind of availability for each type of meeting. Maybe you only want to take client calls in the morning, while the event type for lunch dates should only be bookable during your lunch break.
To account for these types of schedules, Calendly give you the option to create different availability schedules.
To create a new schedule, navigate to the "Availability" page in your Calendly account.

Here, you can just click on "New Schedule" to create a new schedule for your account. Now you just have enter in, at which times you want to be available via this schedule.

After you've set it up, you can use your new schedule by adding it to an event type. This event can now only be booked in the times that you specified in your event type 👍

How to add Calendly date overrides
A really useful Calendly feature is the option to make yourself unavailable at certain times, for example if you're on vacation, or you're visiting your family. In these cases, you can add a "date override" that allows you to change your availability for certain days.
To do that, go to the "Availability" tab in the Calendly navigation.
Now you can create the date override by clicking on the corresponding button on the right side of your screen.

Now in the case of your vacation, you'll probably want to be unavailable for the entire day, but you can also just change the availability for these timeframes if that's something that you want to do. So for example, you could say that on day X, you're only available between 9-12AM, instead of being available from 9AM until 5PM.
The Calendly Chrome extension
The last thing I wanted to tell you about is the Calendly Chrome extension that allows you to quickly access your Calendly links and see upcoming meetings without opening Calendly. It is available on the Google Chrome web store for free, so if that's something that sounds to you, you can check it out there.

There's a similar add-on for Gmail, when you're using Google Workspace, which allows you to generate Calendly links or one-off meetings directly inside of Gmail.
And that's it! I hope you enjoyed this post about Calendly. If you have any additional questions, please feel free to DM me on Twitter.
See you next time :)